
Create Your First Workflow

Create a two-activity approval scheme as XML, upload it to the Web API, start a process instance, check available commands, execute them to advance the process, and optionally set state directly or delete the instance. Then verify the resulting process state.
In this guide you will create a two-step approval workflow, save it to the database, and start a process instance - all through the Web API. The workflow models a document that starts in Draft and moves to Approved when the Submit command is executed.
A scheme defines the activities, transitions, and commands of a process. You will write one as an XML file and upload it to the running Web API, which stores schemes in the database and uses them as blueprints when creating process instances.
Prerequisites:
Step 1: Define the scheme XML
A scheme contains three sections: <Commands> (the triggers), <Activities> (the states), and <Transitions> (the movements between states).
The scheme below models a document that starts in Draft and moves to Approved when the Submit command is executed. Save this as Approval.xml:
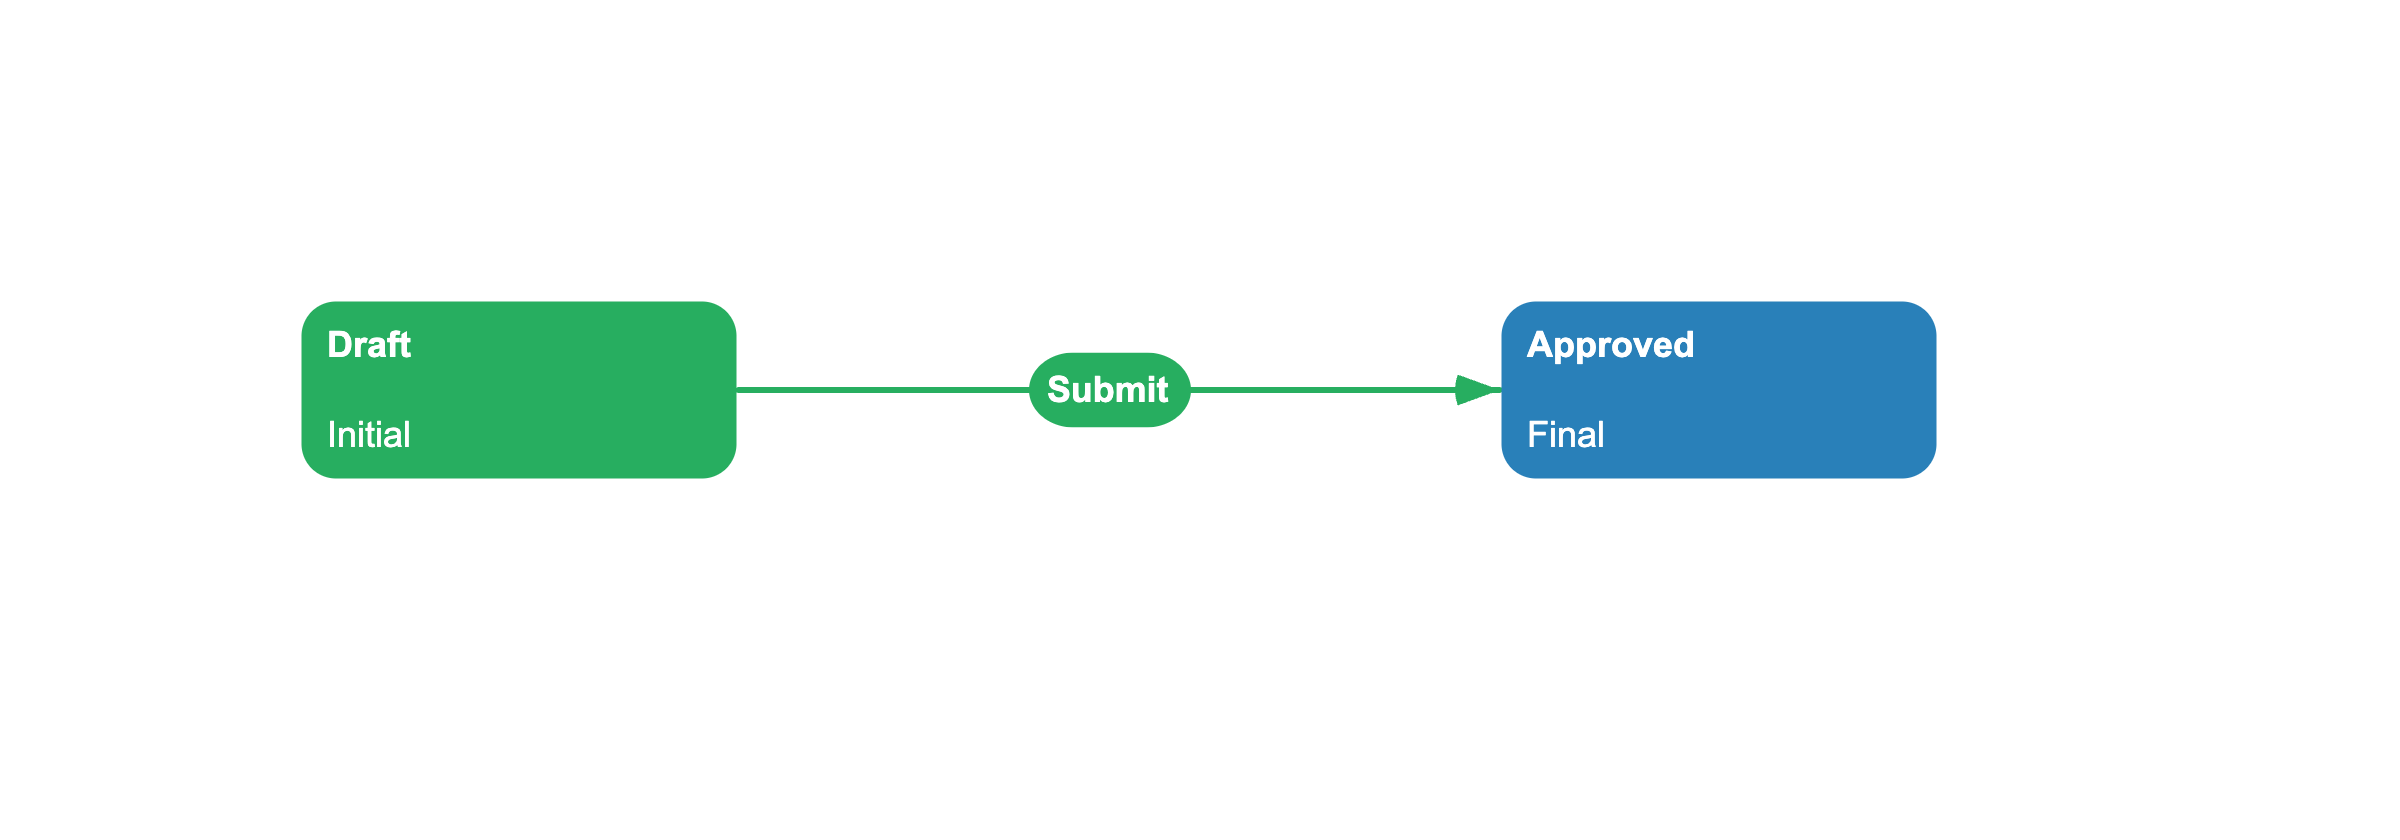
<Process Name="Approval"> <Designer/> <Commands> <Command Name="Submit"/> </Commands> <Activities> <Activity Name="Draft" State="Draft" IsInitial="true" IsFinal="false" IsForSetState="true" IsAutoSchemeUpdate="true"> <Designer X="400" Y="300"/> </Activity> <Activity Name="Approved" State="Approved" IsInitial="false" IsFinal="true" IsForSetState="true" IsAutoSchemeUpdate="true"> <Designer X="800" Y="300"/> </Activity> </Activities> <Transitions> <Transition Name="Draft_Approved" To="Approved" From="Draft" Classifier="Direct"> <Triggers> <Trigger Type="Command" NameRef="Submit"/> </Triggers> <Conditions> <Condition Type="Always"/> </Conditions> <Designer/> </Transition> </Transitions></Process>An activity with IsInitial="true" is where the process starts. An activity with IsFinal="true" ends the process when reached. A trigger with Type="Command" fires the transition when the matching command executes. A condition with Type="Always" means the transition has no guard - it fires unconditionally.
You can also create schemes visually using the standalone Designer. No installation needed - run it via npx:
npx @optimajet/workflow-designer http://localhost:5274/workflow-api/designer ApprovalThis opens a browser tab with the full Designer UI connected to your Web API. You can draw activities and transitions visually and save them, or load an existing XML file through the Designer's menu - the scheme is stored in the database just like the XML approach above.
Step 2: Upload and save the scheme
The Designer API accepts scheme files in two steps: parse the XML into JSON, then save it to the database. Use a temporary file to pass the JSON between the two calls:
# Step 1: Parse the XML file into JSONcurl -s -X POST http://localhost:5274/workflow-api/designer \ -F "operation=uploadscheme" \ -F "schemecode=Approval" \ -F "schemeXml=@Approval.xml" > scheme.json# Step 2: Save the parsed scheme to the databasecurl -s -X POST http://localhost:5274/workflow-api/designer \ -F "operation=save" \ -F "schemecode=Approval" \ -F "data=<scheme.json"The scheme is now stored in the database with code Approval. This code identifies the scheme when creating process instances.
Step 3: Create a process instance
A process instance is one running execution of the scheme. Send a POST to the rpc/create-instance endpoint:
curl -X POST http://localhost:5274/workflow-api/rpc/create-instance \ -H "Content-Type: application/json" \ -d '{ "schemeCode": "Approval", "processId": "a3f5b2c1-4d6e-7f8a-9b0c-1d2e3f4a5b6c" }'Replace processId with a new GUID for each process. The response is an empty success - the instance was created and positioned at the Draft activity.
To verify, check the current activity:
curl -X POST http://localhost:5274/workflow-api/rpc/get-process-instance \ -H "Content-Type: application/json" \ -d '{ "processId": "a3f5b2c1-4d6e-7f8a-9b0c-1d2e3f4a5b6c" }'Response:
{ "processInstance": { "processId": "a3f5b2c1-4d6e-7f8a-9b0c-1d2e3f4a5b6c", "currentActivityName": "Draft", "currentState": "Draft", "schemeCode": "Approval", "isSubprocess": false, "creationDate": "2026-07-03T12:00:00Z" }}The process is waiting at Draft for the Submit command.
You can view the process instance in the Designer by creating an HTML file that loads it with the process ID:
<!DOCTYPE html><html lang="en"><head> <meta charset="UTF-8"> <title>WorkflowEngine Designer</title> <link rel="stylesheet" href="https://cdn.jsdelivr.net/npm/@optimajet/workflow-designer@21/dist/workflowdesigner.min.css"></head><body style="margin: 0"><div id="root"></div><script src="https://code.jquery.com/jquery-3.7.1.min.js"></script><script src="https://cdn.jsdelivr.net/npm/@optimajet/workflow-designer@21/dist/workflowdesignerfull.min.js"></script><script> var designer = new WorkflowDesigner({ apiurl: 'http://localhost:5274/workflow-api/designer', renderTo: 'root', graphwidth: 1200, graphheight: 800 }); designer.load({ schemecode: 'Approval', processid: 'a3f5b2c1-4d6e-7f8a-9b0c-1d2e3f4a5b6c' });</script></body></html>Save this as process.html and serve it through a local HTTP server (opening directly from file:// may not work due to browser security):
npx serve .Then open http://localhost:3000/process.html in your browser. The Designer loads the process instance and highlights its current activity.
Step 4: Check available commands
Before executing a command, you can check which commands are available for the current activity and user:
curl -X POST http://localhost:5274/workflow-api/rpc/get-available-commands \ -H "Content-Type: application/json" \ -d '{ "processId": "a3f5b2c1-4d6e-7f8a-9b0c-1d2e3f4a5b6c", "identityIds": ["user-42"] }'Response:
{ "availableCommands": [ { "processId": "a3f5b2c1-4d6e-7f8a-9b0c-1d2e3f4a5b6c", "name": "Submit", "localizedName": "Submit", "parameters": [], "validForActivityName": "Draft", "validForStateName": "Draft", "isForSubprocess": false, "classifier": "Direct", "identities": [ "user-42" ] } ]}The runtime returns only the commands whose conditions and rules permit the given identity. In this case, Submit is available because the process is at Draft and the transition has Type="Always" - no restrictions.
Step 5: Execute a command
Advance the process from Draft to Approved by executing the Submit command. The command is valid only while the process is at Draft:
curl -X POST http://localhost:5274/workflow-api/rpc/execute-command \ -H "Content-Type: application/json" \ -d '{ "command": { "processId": "a3f5b2c1-4d6e-7f8a-9b0c-1d2e3f4a5b6c", "name": "Submit", "validForActivityName": "Draft" } }'Verify the new state:
curl -X POST http://localhost:5274/workflow-api/rpc/get-process-instance \ -H "Content-Type: application/json" \ -d '{ "processId": "a3f5b2c1-4d6e-7f8a-9b0c-1d2e3f4a5b6c" }'Response:
{ "processInstance": { "processId": "a3f5b2c1-4d6e-7f8a-9b0c-1d2e3f4a5b6c", "currentActivityName": "Approved", "currentState": "Approved", "schemeCode": "Approval" }}The process moved to Approved - the workflow ran to completion.
Step 6: Set state directly (optional)
You can move a process instance to any activity directly, bypassing transitions and conditions. This is useful for error recovery or testing:
curl -X POST http://localhost:5274/workflow-api/rpc/set-state-without-execution \ -H "Content-Type: application/json" \ -d '{ "processId": "a3f5b2c1-4d6e-7f8a-9b0c-1d2e3f4a5b6c", "stateName": "Draft" }'The process is now back at Draft without executing any transitions. This can be useful for testing or recovering a process that reached an incorrect state.
Step 7: Delete the process instance (optional)
Delete the process instance and all its data when it is no longer needed:
curl -X POST http://localhost:5274/workflow-api/rpc/delete-instance \ -H "Content-Type: application/json" \ -d '{ "processId": "a3f5b2c1-4d6e-7f8a-9b0c-1d2e3f4a5b6c" }'This removes the process instance and all its subprocesses from the database.
What you built
- Defined a scheme with
DraftandApprovedactivities, aSubmitcommand, and a transition between them. - Uploaded the scheme XML to the Web API and saved it to the database.
- Created a process instance and verified it was positioned at
Draft. - Viewed the process instance in the Designer UI.
- Checked which commands are available for a user.
- Executed the
Submitcommand and the process advanced toApproved. - Moved the process back to
Draftusing direct state control. - Deleted the process instance when it was no longer needed.
Next steps
Framework-Agnostic Install
Install Workflow Engine without ASP.NET Core - for console apps, workers, and custom hosts.
Core Concepts
Learn schemes, activities, transitions, commands, timers, rules, and actions.
Frequently asked questions
What is the minimum scheme XML needed to define a workflow?
A minimal scheme needs at least one command, an initial activity, a final activity, and a transition connecting them. The example on this page, a two-activity approval with Draft, Approved, and a single Submit command, is a complete working scheme.
How do I save a scheme through the Web API?
Send the XML file to the designer endpoint with operation=uploadscheme to parse it into JSON, then send the JSON back with operation=save to store it in the database. Both calls use the same endpoint - see Step 2 above for the exact commands.
How do I know my scheme was saved correctly?
Create a process instance through the Web API and check the current activity. If POST /rpc/get-process-instance returns the initial activity name in currentActivityName, the scheme was saved correctly.
How do I check which commands are available?
Use POST /rpc/get-available-commands with the processId and identityIds array. The runtime evaluates conditions and rules on each outgoing transition and returns only the commands the user is allowed to execute.
How do I advance a process from one activity to another?
Execute a command that triggers a transition. Use POST /rpc/execute-command with the command name and the activity where the command is valid. The command must match a Command element in the scheme, and the transition must have a trigger referencing that command.
How do I move a process to a specific activity without executing a transition?
Use POST /rpc/set-state-without-execution with the process ID and the target state name. The target activity must have IsForSetState="true" and a State attribute in the scheme.
How do I delete a process instance?
Use POST /rpc/delete-instance with the process ID. This removes the instance and all its subprocesses from the database.
Can I view a process instance in the Designer?
Yes. Create an HTML file that loads the WorkflowDesigner and call designer.load() with both schemecode and processid - see the example after Step 3 above. Serve the file through a local HTTP server.